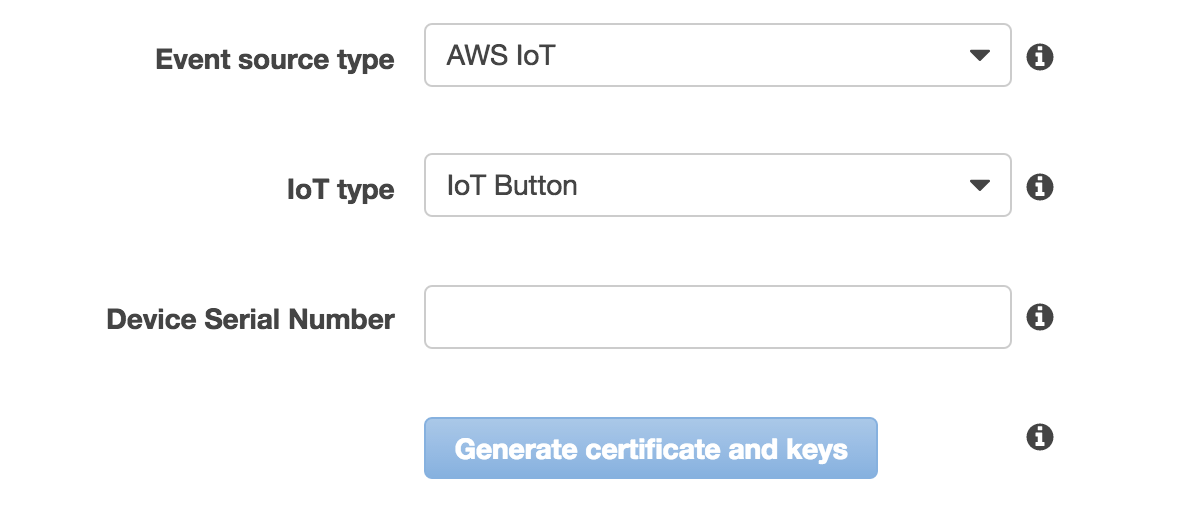
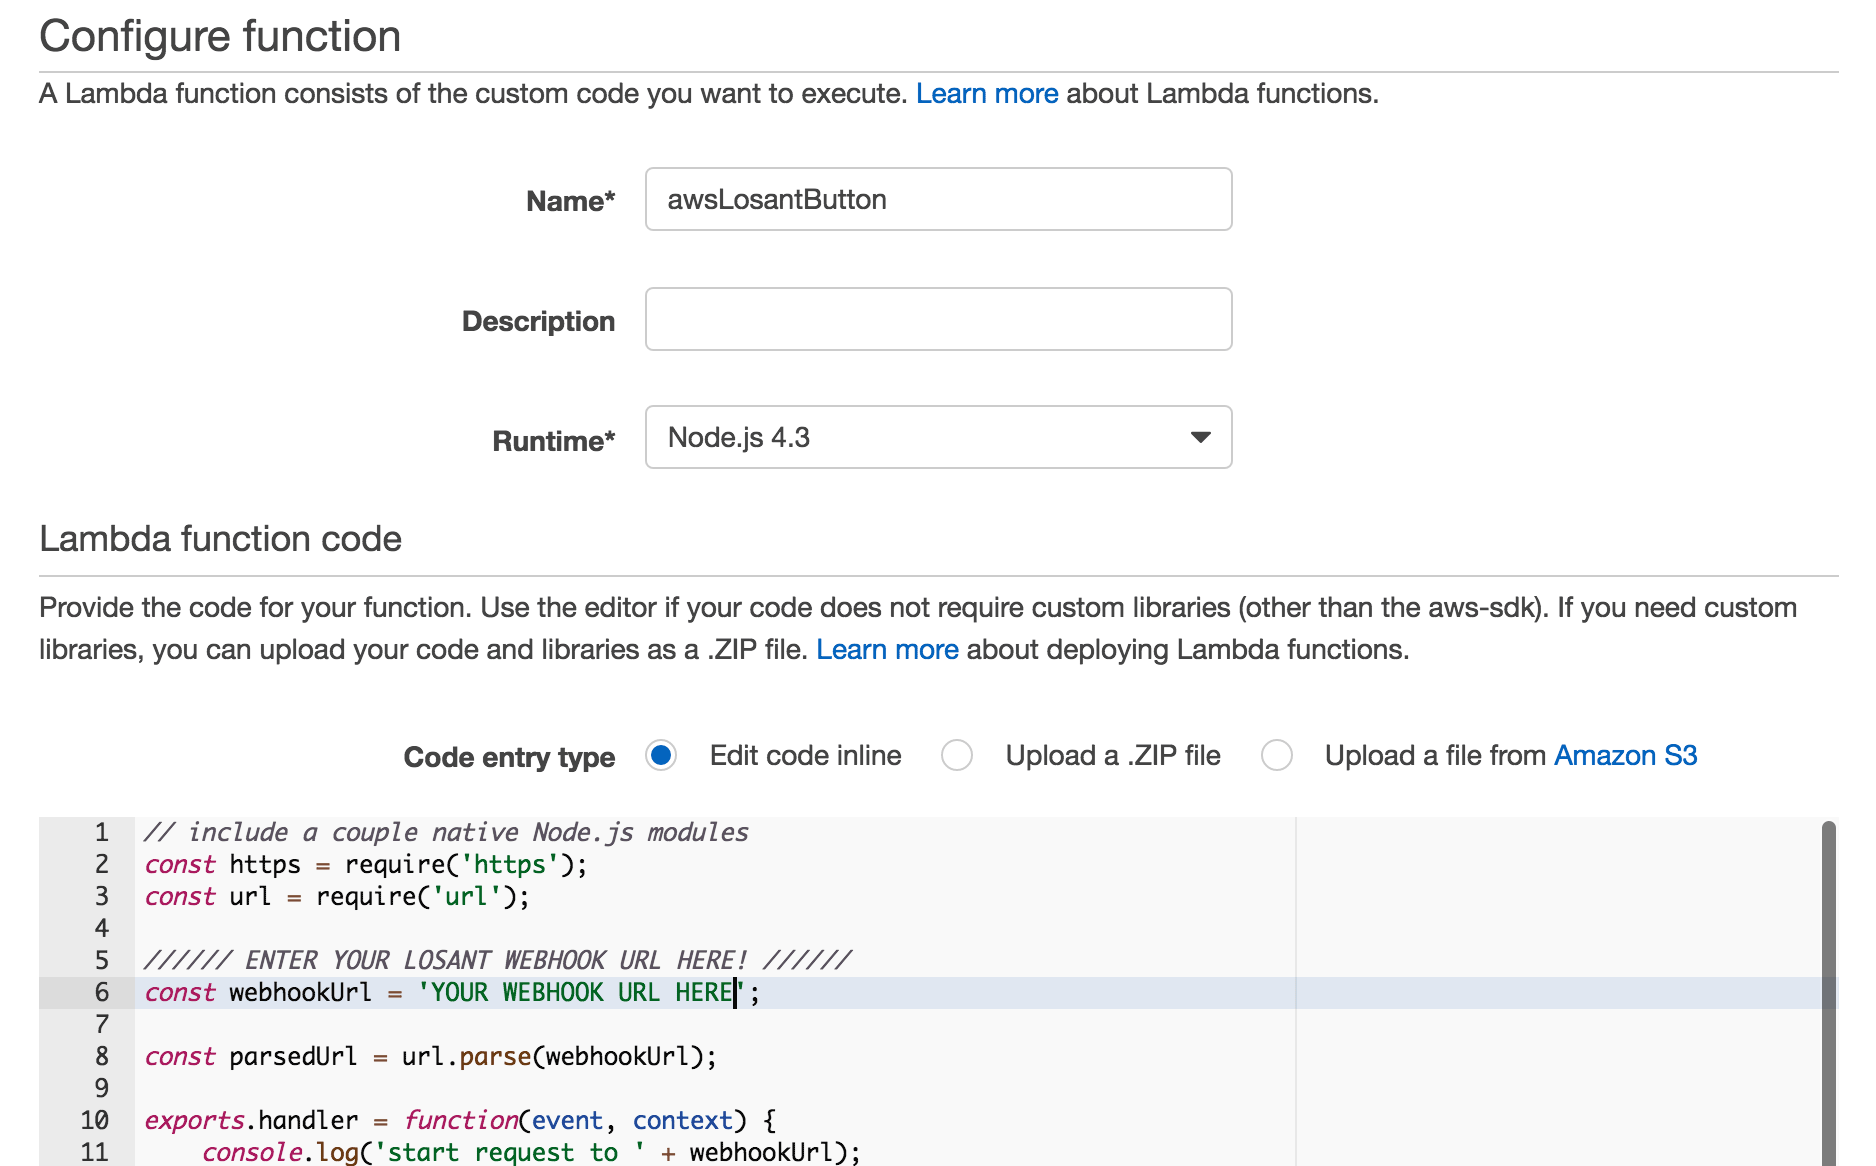
In the next screen, we will set up an AWS Lambda function that will execute every time the IoT button is pressed. While these snippets can interact with other AWS services such as DynamoDB, Kinesis and S3, we will simply send a POST request to our Losant webhook. Note that at this pointwe are deviating from Amazons Getting Started Guideto connect to Losant instead.
Amazons Iot Button Getting Started tutorial
We previously wrote abouttriggering an AWS Lambda function from a Losant workflow. This time well be doing the opposite: triggering a workflow from a Lambda function.
Finally, on the next screen, click the
checkbox (ignore the warning about testing the function if you get one) and then click
Losants platform enables you to intelligently manage your devices, collect and visualize data, and ultimately take action on data through highly customizable workflows – all in real-time.
copy the webhooks URL to a safe place
. From the applications subnavigation, click More and then Webhooks in the subsequent drop-down menu.
Amazon Prime account: Currently the button is only available to Prime members
Losant is an enterprise Internet of Things platform that makes building real-time connected solutions a breeze. Quickly set up devices, easily collect and visualize data and take action through highly customizable workflows.
Before getting started, youll need the following:
Since we will need the webhook URL in a later step, we will start by setting things up on the Losant side.
and you will see a drop zone where you can drag the workflow file.
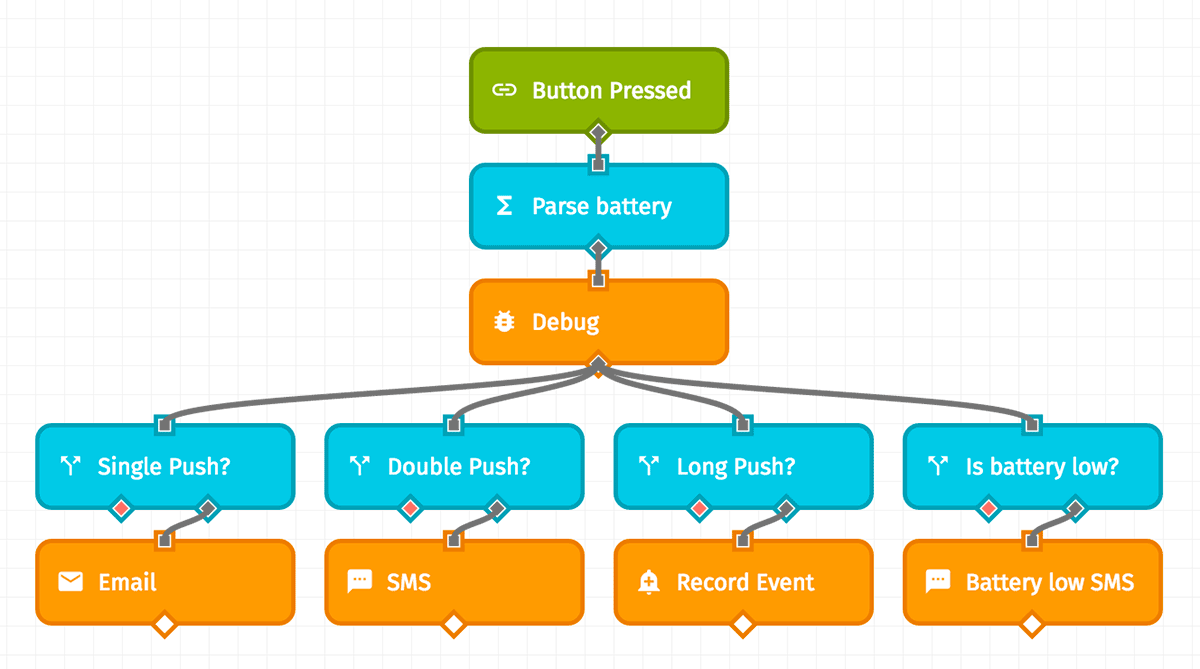
In this tutorial well show you how to register your IoT button in the AWS platform and how to send its click data to theLosant IoT platform. Once there, we will use aLosant workflowand awebhook triggerto initiate one of three different actions, depending on how the user pushed the button.
Leave the Handler* input and the entire Advanced section alone and click
Build real-time IoT solutions with ease.
Amazon AWS account: The services free tier should be more than enough for our purposes

lowVoltage is the voltage (in mV) at which point we should warn the user about a dying battery. For now, set this to 1500
We have successfully registered the AWSIoT button on the AWS platform and connected the button to the Losant platform. While we are only sending digital messages on click in this tutorial, you can take the workflow weve created and build your own unique experiences for each button press type. Order a sandwich on one click; turn off the lights with a double press; or change the TV channel with a long hold. What youd like the button to do is entirely up to you.
Sign up to receive our newsletter with the latest updates from the Losant team.
. This is the code that will send a POST request to Losant. If youd like to know more about how this works, there are multiple comments in the gist.
at the bottom of the page. This will close the tab and return you to the previous screen.

. (I named mine awsLosantButton.) Leave Runtime set as Node.js 4.3.
We are now sending our IoT button press info to the Losant platform! Now, lets build a workflow to turn our physical presses into actions in the virtual world.
anything you would like, and optionally
Once you have your button and have logged in to your AWS account, Amazon makes it (relatively) easy to register the button on its platform. We will be piggybacking on AmazonsGetting Started tutorial, which by its conclusion triggers an email from its SNS service when the button is clicked; however, we will deviate from that path after the device has been registered.
In the Lambda function handling and role section, find the
Losant is an enterprise Internet of Things platform that makes building real-time connected solutions a breeze.
Amazon IoT button: As of this writing, expected delivery is10 to 13 days after ordering
Losant is an enterprise IoT platform that makes it easy to build secure, complex connected experiences.
fromEmailAddress is the address that the email will appear to come from
batteryLowPhoneNumber is whom we will text when the buttons battery is running low
In the Lambda function code section, leave Edit code inline selected and
For now we will set up our workflow to take one (or two) actions depending on the data we receive from the button.
Amazon recently debuted anIoT buttonfor interactingwith its popular AWS cloud-based services. Though similar in form factor to the Amazon Dash button (which was designed for consumers to reorder household goods), the AWSIoT button is targeted more for IoT developers, triggering an AWS Lambda function of the users choosing when pressed.
toEmailAddress is whom we will emailwhen the button is clicked once
, which will create a new Lambda function from a blueprint.
to complete the next steps. This will make it easier for us after we have registered our button. (At the very least,
. From the applications subnavigation, click Workflows and then Create Workflow from the dropdown menu.
Losant account:This ones the easy part.
doublePushPhoneNumber is whom we will text when the button is double-pressed
in the provided input. The number is printed on the back of your IoT Button.
. You can do so by clicking Create New Application from the Applications drop-down menu; or if youre a new user, you can create your first application directly on the Welcome screen.
to create a template from which you can build your own IoT button experiences. In the right column of the workflow editor, scroll to the bottom of the
Now you can connect the unconnected. With Losant IoT developer platform, your devices and data come together to create the Internet of Things solution you need.

The interface will then update to include the next steps. Rather than re-hash them here, simplyfollow the instructions provided, and then click theNextbutton at the bottom of the page.
in the bottom right corner to fill in the appropriate values.
. This will open a new browser tab. Leave all the default settings in the new tab alone and click
We will need to update the Globals before we can deploy this workflow. Click the
. Then start clicking your IoT button!
